This is the last stage of creating my first Carousel Animal!! I am in the painting stage! First the entire horse must be primed and sanded 2-3 times. We use Kilz oil based primer. Then acrylic paints for the color. Here goes!
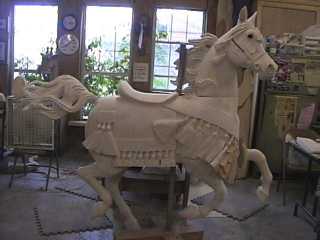
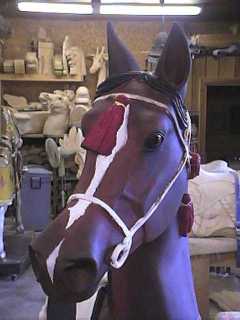
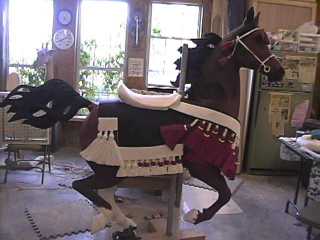
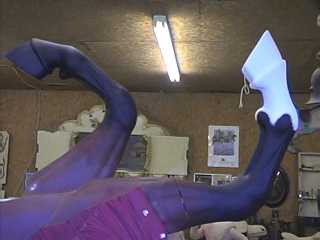
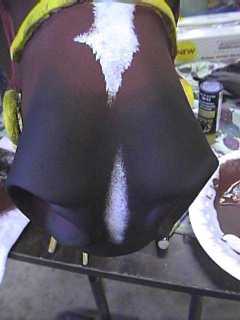
Here he is all primed (except for the attached bank of tassles in the front) The red on his bridle was a test area for choosing the best color. I wanted a red that would match the embroidery thread I used to make the model's tassles. A rich red, not orange and not too dark. I chose Folk Art Napthol Crimson on a white background. This red will be on all the tassles, the bridal and the design on the blanket trim. The horse will be a dark bay, not quite as dark as the model. Bud says to paint the entire horse the lightest color which will be Burnt Sienna. It is too orange, but he says just wait and see!! I need to paint the chest first so I can get the tassles fixed in place.
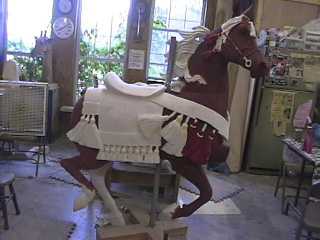
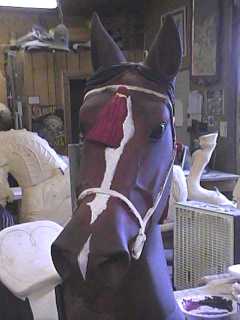
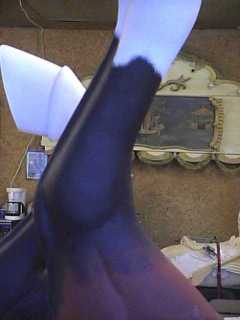
So much for finishing the chest! Painting is making him come alive!! I couldn't help myself. I just kept painting! The left back leg is still not even attached yet, but I couldn't just stop. I left the head as you see it above with hints of what will come. It will be 2 days before I make it back in. I told Bud that under no circumstances was he to paint my horse unless I was there. That is akin to putting a hungry shark in a tank full of fish and saying "don't eat". This is what I came back to!
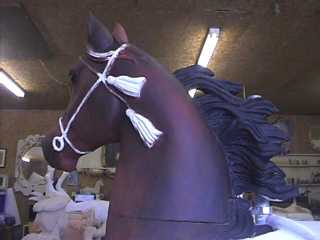
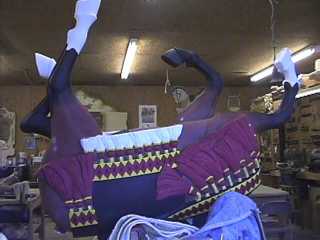
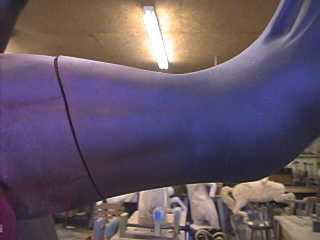
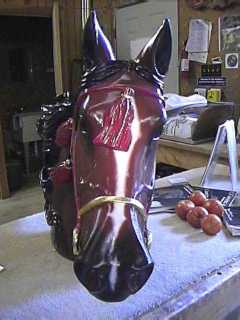
WOW!! The shading is just spectacular!! I am amazed! He looks so real! The pictures do not do him justice. All Bud did was use a dry brush and stiple Burnt Umber over the Burnt Sienna to create the shading. It sounds easy, but is much harder in practice! I spent the next few days painting the tail, tassles etc.
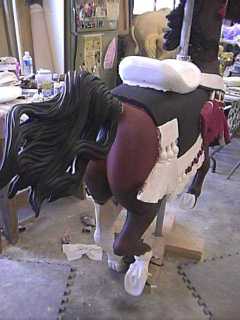
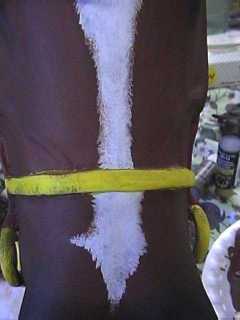
There are so many things that seem simple but are not easy. I had wanted to recreate the trim that I wove for the model on the horse. I finally decided to go much simpler, however, it was not easy coming up with a workable pattern. I finally decided that it was a math problem and came up with a solution. It took me several hours, but I like the results. The pattern will be painted on, giving the option to change it later. I am also learning how to shade the tassles and blend between colors on the horse itself. Everywhere there is yellow will be gold leafed at the end. There will also be gold leaf on the tassles themselves.
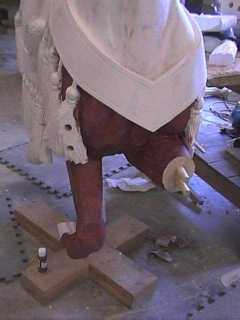
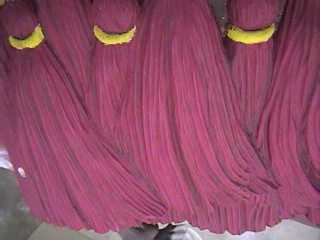
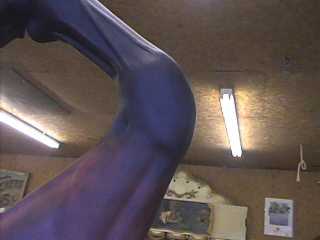
Just add a little Burnt Umber to the red for shading the tassles. The shading on the body is accomplished by going back and forth with the 2 colors until it looks natural. It will take me some practice to get it right. I finally got the back leg attached, and will soon be getting all the tassles in place permanently. The tail, head and left front leg will be removable to make shipping easier.
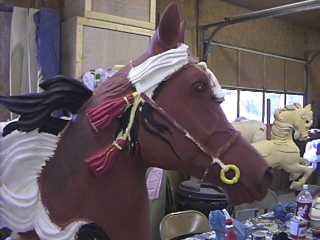
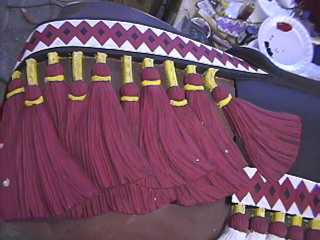
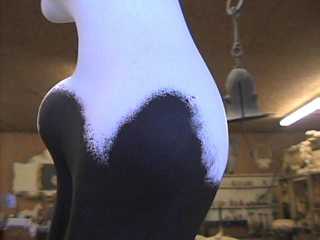
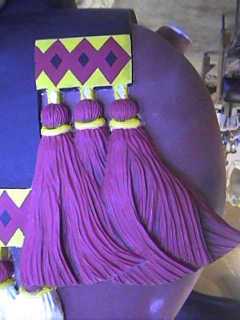
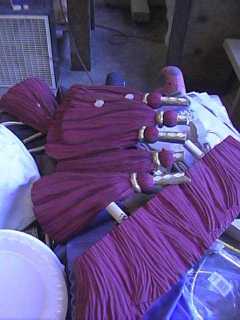
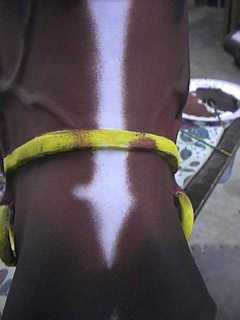
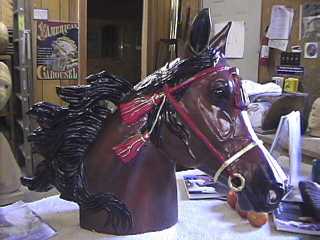
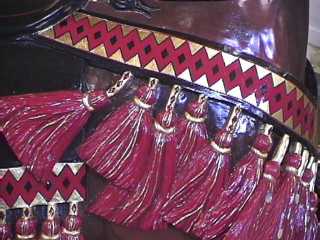
Here are the tassles and breastband all completed! There are "strings" of gold leaf running through the tassles themselves! The jewels are also permanently attached on the romance side. Still lots of work to do. I love the portrait shot on the right.